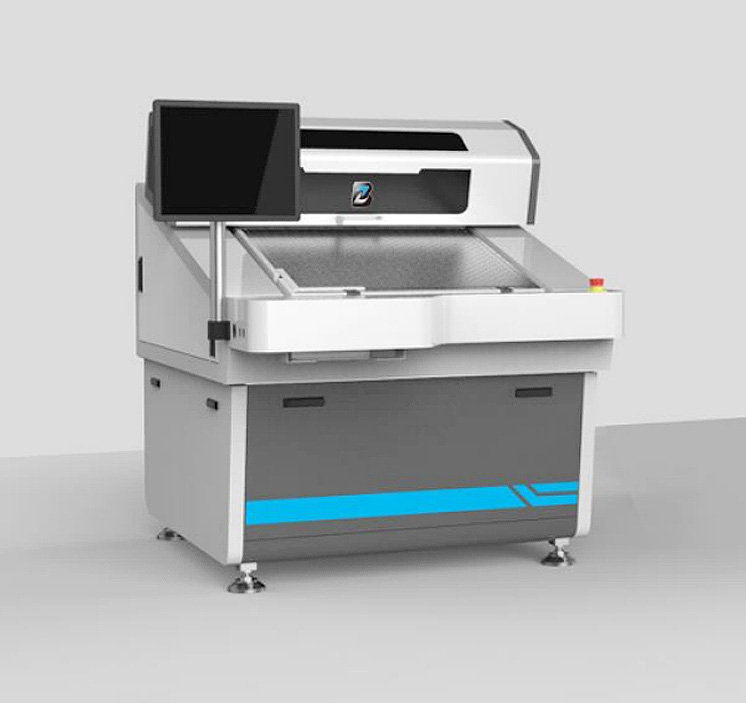
AOI --Unique 9000

AOI --Unique 9000
•Automatic alignment, real-time scanning, allows board placement errors up and down ±100mil and ±3°, improving productivity;
•Automatic calculating etching factors, real-time monitoring production quality;
•Unique ability to analyze and filter micro defects;
•Non-functional features mask by software automatically;
•48°high-density direct and scattered light source, uniform optical coverage makes fine imaging effect;
Brief introduction
The automatic optical inspection ( AOI ) is used in the production process to identify the defects in PCB layers,then repair those defects through VRS, or remove them from production line.
The defects detected by AOI helps prevent those defective boards from being processed into the final process. It is of great value in terms of quality, process control, and yield improvement. It is a powerful mid-inspection assistant for PCB manufacturers.
Name | AOI( Unique 9000) |
Test items | Inner circuit copper board,Outer circuit copper board,Inner/outer dryfilm,Wet film,Flexible board,Reverse Copper foil plate,Inner layer with holes,MCPCB,Film,Flexible board with coverage. |
Scan light source selection | Can with Full spectrum halogen lamp / LED, Or With different wavelengths or LED light source colors to adapt to different copper and substrate color changes. |
Technology Range | Conductor width and spacing can reach 1.4mil(35um) |
Throughput (mil) | 4 3 2 1.4 |
Throughput(micro) | 100 75 50 35 |
Side/hr(18"X24"cut lamination standard),Not included up and download board | 210 190 125 90 |
Date format | GB274,ODB++,GENESIS,CAM350 |
Alignment method | Side to side alignment with no Pin(suggest +/-100mil board deviation,angle deviation) |
Halogen lamp/ Filters | With Blue,Red Filters,varieties of colors can response the sensitive effect of different material. |
Vacuum inspection station | With strong vacuum pump,can test rigid/flexible board |
CCD | 8K Linear CCD |
Thickness Range | 1 - 300mil |
Max Panel size/Inspected area | 26"*29" (660mm *720mm) |
Table moving structure | Automatic vacuum table,High-precision DC motor,stepper motor |
Defect Verification | Inside Camera |
Operation interface | linux(English/Russian/Spanish/Japanese/Korean/Chinese) |
Marking function | optional |
Dimension | 2065*1510*1770mm |
Weight | 1050 KG |
Air pressure | 5-6 atm |
Name | Verification and repair station |
Max panel size | 26”*29”(660*720mm) |
Max Inspected area | 26”*29”(660*720mm) |
Panel thickness | 0-160mil(0-4mm) |
Transfer time of defect | Longest:1 second |
Typical:0.5 second(Can be set) | |
Range of changing the focal length | 17x-80x |
Purple light verify | Optional |
White lighting | 2 kinds of Independent control(based on LED):Coaxial light、Scattered light |
Application support | All kinds of PCB---As low as 1.2mil(30um)conductor width/spacing |
Special micro-size | As low as 0.1mil(2.5um) |
Image display | High resolution can reach 19”/Flat display |
Panel processing | Vacuum table pin,Adjust the board without pins |
Physical dimension | 1628mm*1102mm*1181mm |
Weight | 420 KG |
Air pressure | 4-5 atm |


